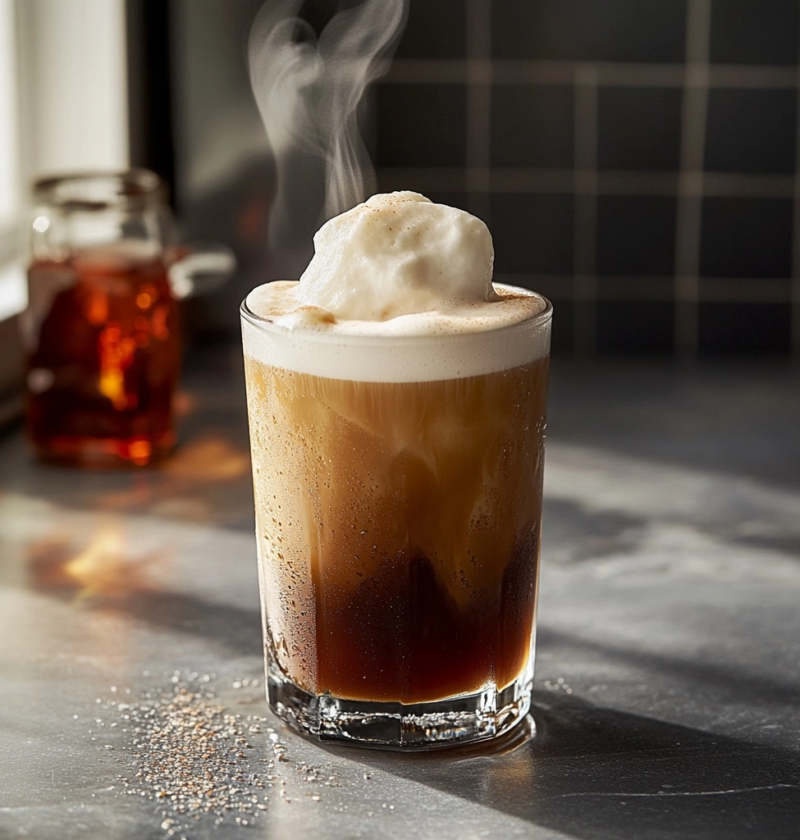
Homemade cold brew foam transforms simple coffee into a cafe quality beverage with minimal effort and superior flavor control. You can layer this creamy topping over your favorite morning brew to create a rich texture that elevates the drinking experience significantly. The preparation is quick enough to fit into any busy schedule while delivering a satisfying sweetness without artificial additives.
Why This Recipe Works
This specific cold brew foam recipe works by stabilizing milk proteins to create a dense and persistent layer of bubbles that sits atop the liquid. I have found that using skim milk specifically helps the foam remain thick for a longer period compared to whole milk in an iced setting. The temperature differential between the cold coffee and the whipped dairy is crucial for maintaining that distinct separation that defines a good frap or latte.
You do not need expensive machinery to achieve this texture because a handheld frother is sufficient for most home kitchens. I have tested this method repeatedly and confirmed that the flavor profile remains clean without becoming overly sweet or heavy on the palate. The vanilla simple syrup adds a depth of aroma that complements the deep roasted notes of the cold brew perfectly. You gain total control over the sweetness level which helps you avoid the high sugar content found in bottled coffee drinks.
The balance of ingredients is simple yet effective because only two main components are required to build the structure of the foam. This minimalism ensures that you are not masking the natural taste of the coffee beans with a heavy cream base. The technique relies on physical aeration rather than chemical stabilizers to keep the foam intact for drinking. It is a reliable method that produces consistent results every time you prepare a fresh cup of beverage.
t
Chef Tips for Perfect Results
Achieving the perfect foam requires attention to temperature and the speed of the aeration process during preparation.
- Select fresh dairy: Use milk that has been refrigerated consistently to ensure the proteins bond correctly for maximum aeration.
- Control frothing time: Limit the mixing process to twenty seconds to prevent the liquid from becoming too warm from friction.
- Measure syrup carefully: Add the vanilla simple syrup before frothing to ensure it blends evenly throughout the milk base.
- Use shallow containers: Fill your glass or jar only halfway to allow enough headspace for the foam to expand without spilling.
- Stabilize the frother: Keep the device submerged deeply enough to pull in air without splashing liquid out of the vessel.
- Chill the coffee first: Ensure your coffee is sufficiently cold so the hot spots do not melt the foam layer immediately.
- Scoop for volume: Pour the liquid gently to let the foam float to the top and maintain the visual presentation.
- Adjust sweetness early: Add sweeteners before mixing to avoid grainy textures that can occur with undissolved crystals.
Common Mistakes to Avoid
Achieving a stable foam base often fails when the temperature or technique is mismanaged during preparation.
| Mistake | Why It Happens | How to Fix It |
|---|---|---|
| Using warm milk | Fat content separates and proteins denature too quickly without cold temperatures. | Ensure the milk is stored in the refrigerator for at least four hours before frothing. |
| Over-whisking | Agitation creates too much heat which thins out the foam bubbles rapidly. | Stop mixing as soon as the volume increases and the texture looks velvety. |
| Pouring too soon | The air pockets collapse immediately if placed on the coffee immediately after mixing. | Let the foam rest for thirty seconds to strengthen the surface tension bubbles. |
| Low density milk | Plant-based milks without protein may fail to hold a stable structure. | Choose barista versions of oat or almond milk that are designed for frothing. |
| Wrong vessel shape | Wide containers cause the frother to splash instead of pulling in air effectively. | Use a tall, narrow glass or jar to contain the spray and focus the bubbles. |
Variations and Substitutions
Customizing this topping allows you to tailor the flavor and texture to meet specific dietary preferences.
| Ingredient or Element | Substitution or Variation | Impact on Flavor or Texture |
|---|---|---|
| Skim milk | Cow’s whole milk | Creates a richer mouthfeel but may cause the foam to melt faster due to higher fat content. |
| Vanilla syrup | Caramel syrup | Introduces a buttery sweetness that pairs exceptionally well with chocolate accents in coffee. |
| Cold brew | Espresso shot | Increases the caffeine intensity and acidity which requires a denser foam to balance the sharpness. |
| Almond milk | Oat milk | Provides a more robust creaminess that mimics dairy milk closer than almond bases typically do. |
| Sweetener | Monk fruit extract | Reduces calorie intake significantly while maintaining the sweetness profile for health conscious drinkers. |
| Hot foam | Cold whipped cream | Alters the viscosity to create a thicker topping that melts slowly but changes the foam texture. |
| Cinnamon | Whiskey or Rum | Adds adult warmth but you must adhere to dietary restrictions that exclude alcohol in standard recipes. |
| Coconut | Chocolate powder | Transforms the drink into a dessert option by adding cocoa solids into the liquid mixture directly. |
Serving Suggestions and Pairings
Serving this beverage correctly enhances the experience and complements the light sweetness of the foam.
- Pair with a slice of whole wheat toast and sliced avocado for a savory and healthy morning combination.
- Serve alongside a fresh fruit salad to add fiber and natural sugars to start your energy cycle.
- Enjoy with a small serving of homemade granola bars that include nuts and dried fruit for crunch.
- Match with a spinach and feta quiche to balance the bitterness of the coffee with egg richness.
- Cut a warm croissant in half and fill with butter to create a French style breakfast vibe.
- Accompany with a smoothie bowl topped with chia seeds and blueberries for a nutrition packed start.
- Drink with a side of hard boiled eggs for a high protein meal that keeps you full longer.
- Serve with a small plate of cheese cubes like cheddar or brie for a sophisticated pairing option.
- Enjoy the drink on its own as a quick breakfast solution when time is extremely limited and essential.
- Pair with a sweet pastry like a danish filled with fruit for a more indulgent brunch treatment.
- Add a handful of roasted almonds on top for extra crunch and protein to round out the meal.
- Enjoy with a small piece of dark chocolate rind to elevate the flavor profile of the coffee significantly.
For a complete meal, I recommend preparing a simple omelet and this coffee drink to create a balanced breakfast plate. This combination covers all necessary macronutrients while providing the caffeine you need to start your day effectively. The creamy foam adds a visual appeal that makes the morning routine feel special and rewarding. You will find that this preparation style encourages you to slow down and enjoy your morning rituals.
Make Ahead Options
You can prepare a significant portion of the components ahead of time to streamline your morning routine.
The milk and syrup mixture can be made and stored in the refrigerator for up to three days before use. I recommend frothing the milk just before serving to ensure the bubbles remain stable and airy on the coffee. If you need to prepare this for a large batch, you can mix the syrup and milk in bulk and portion it out individually.
To protect the texture, always keep the liquid mixture sealed in an airtight container while it sits in the fridge. You should avoid frothing the mixture too far in advance of service because the bubbles will deflate and merge into liquid over time. A practical finishing note is to shake the container vigorously for five seconds before frothing to redistribute any separated components.
Storage and Reheating
Proper storage is essential for maintaining freshness and safety for leftover ingredients.
| Method | Duration | Instructions |
|---|---|---|
| Room Temperature | 2 hours | Keep milk away from heat sources to prevent spoilage and bacterial growth in the liquid. |
| Refrigerator | 3 days | Store the milk and syrup mixture in a sealed glass jar for optimal preservation and flavor stability. |
| Freezer | 1 month | Freeze the mixed liquid in ice cube trays for single servings but note the texture may change upon thawing. |
| Reheating | Brief warm up | Simmer the foam mixture gently in a pot to restore warmth without boiling which breaks the bubbles. |
| Make Ahead | 24 to 48 hours | Prepare the syrup base in a container and keep the milk cold until the moment of frothing service. |
Nutritional Information
Approximate values are based on one serving and may vary depending on exact ingredients and portion size.
| Nutrient | Amount per Serving |
|---|---|
| Calories | 85 kcal |
| Protein | 4 g |
| Fat | 0.5 g |
| Saturated Fat | 0.3 g |
| Carbohydrates | 12 g |
| Fiber | 0 g |
| Sugar | 10 g |
| Sodium | 60 mg |
Frequently Asked Questions
Can I use different types of milk for the foam?
Yes, you can use almond, oat, or soy milk as a substitute for skim milk without affecting the process significantly. However, some plant-based milks may require a specific frother type to achieve optimal bubble density and volume. Stick to the dairy-free versions labeled as barista formulas for the best structural stability in your drink.
How do I know when the foam is ready?
The foam is ready when it doubles in volume and forms a thick, white layer that holds its shape in the spoon. You will see small, uniform bubbles forming on the surface and the texture should feel velvety rather than watery. This indicates that the air has been fully incorporated into the milk protein matrix for a lasting finish.
What should I do if my foam bubbles disappear quickly?
If the bubbles collapse immediately, it is usually due to the milk being too warm or the foam not being mixed long enough. You must ensure the milk is cold and the frothing motion is consistent to build the necessary surface tension. Check the temperature of your ingredients before starting the frothing process to identify the cause of failure.
Can I sweeten the coffee before adding the foam?
You can add sweetener directly to the cold brew before topping it to create a balanced flavor profile. However, sweetening the milk base ensures the sweetness is distributed evenly throughout the foam layer as well. This layering technique provides a consistent taste in every sip without requiring a stir at the end.
Is there a way to store the foam for later use?
You cannot store the finished foam for extended periods because the bubbles will naturally dissipate and separate. It is best to prepare the foam immediately before pouring it over your ice or cold brew concentrate. Attempting to save the foam for more than an hour will result in a liquid milk consistency that lacks the desired texture.
How does cold brew foam differ from espresso foam?
Cold brew foam relies on milk proteins and simple syrup rather than the crema produced by an espresso machine. It creates a lighter and sweeter top layer that sits gently on top of the liquid coffee base. Espressos use pressure to force oil and solids into a thick head whereas milk foam is physical aeration.
Conclusion
This method offers an accessible way to replicate your favorite cafe drink at home with complete customization. By making your own Homemade Cold Brew Foam, you eliminate unnecessary ingredients and control the quality of every cup. The result is a refreshing beverage with a delightful texture that makes your morning routine feel like a special occasion. Enjoy the creamy satisfaction of this drink with confidence and simple preparation steps.
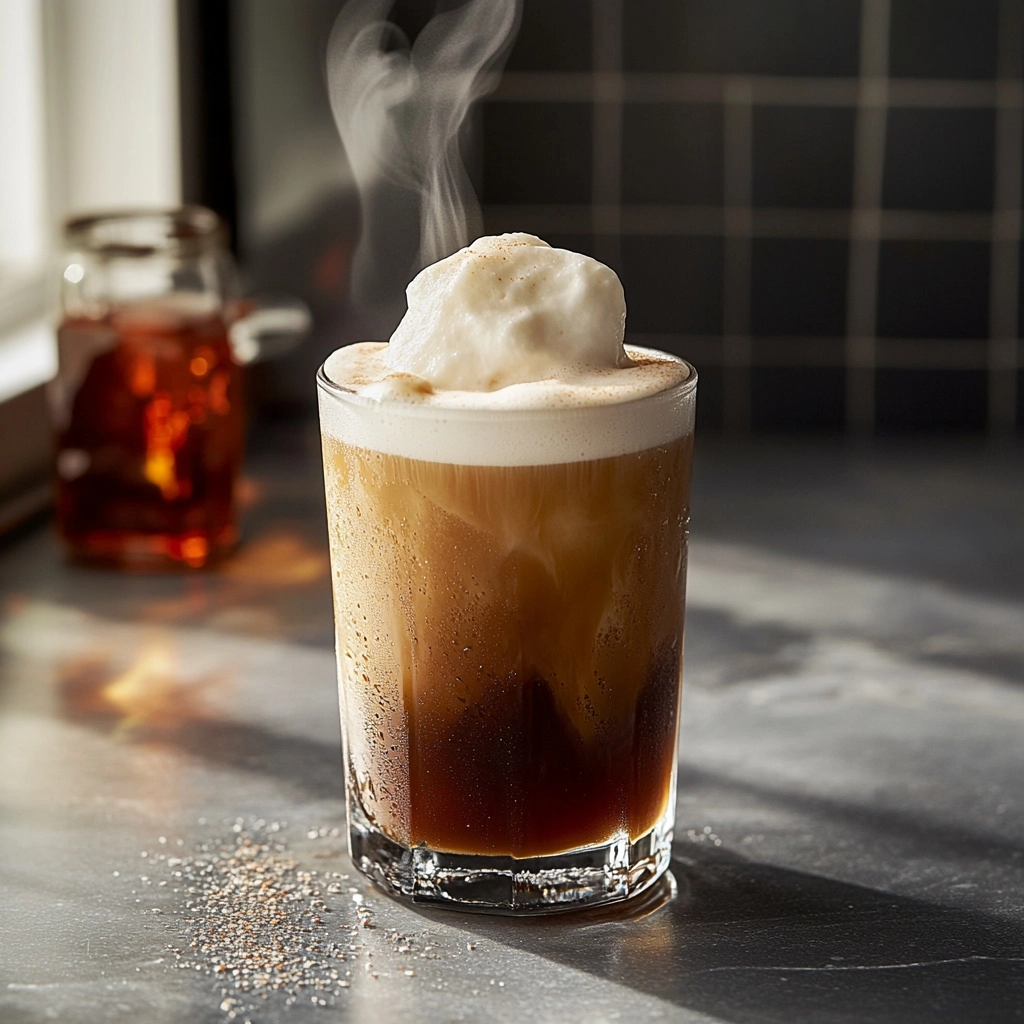
Homemade Cold Brew Foam Recipe for Creamy Coffee Toppers
Ingredients
Method
- Chill the milk and coffee in advance.
- Pour milk into a shallow glass or jar, halfway full to allow room for foam.
- Stir in the vanilla syrup and optional non-dairy creamer.
- Use a handheld frother, submerge deeply, and froth for 20 seconds or until thick and bubbly.
- Pour cold brew coffee into a glass, then gently spoon the foam on top.
- Sprinkle with cinnamon or cocoa powder (optional) before serving.
Nutrition
Notes
Chill the glass of cold brew ahead of time for a cooler serving experience.
Storage is not intended for this foam as it is best consumed fresh.
Adjust vanilla syrup to desired sweetness level.